loading...
- No. 9, Xingyuan South Street, Dongwaihuan Road, Zaoqiang County, Hengshui, Hebei, China
- admin@zjcomposites.com
- +86 15097380338
- Welcome to visit our website!
Installation Guide for FRP Grating Systems in Various Applications and Environments
Installation Guide for FRP Grating
Fiber Reinforced Plastic (FRP) grating has become a preferred choice for various industrial applications due to its high strength-to-weight ratio, corrosion resistance, and low maintenance needs. This article aims to provide a comprehensive guide on the installation of FRP gratings, ensuring safety, durability, and long-term performance.
Understanding FRP Grating
FRP grating is typically made from a combination of fiberglass and resin, making it an attractive alternative to traditional materials such as steel and wood. Its non-conductive properties, chemical resistance, and lightweight nature make it suitable for environments where safety and durability are paramount, such as chemical plants, walkways, and water treatment facilities.
Preparation for Installation
Before beginning the installation process, proper preparation is essential
. Ensure you have all necessary tools and materials on hand, including- FRP grating panels - Cutters (if adjustment is required) - Supports or framing for grating placement - Non-corrosive fasteners (like stainless steel screws or clips) - Personal protective equipment (PPE), including gloves and safety glasses
Prior to installation, inspect the work area for any potential hazards. Clean the workspace to eliminate debris that may hinder the installation process. If modifications to the grating are needed, measure and cut it carefully to the desired dimensions, taking special care to make smooth cuts to avoid sharp edges.
Installation Steps
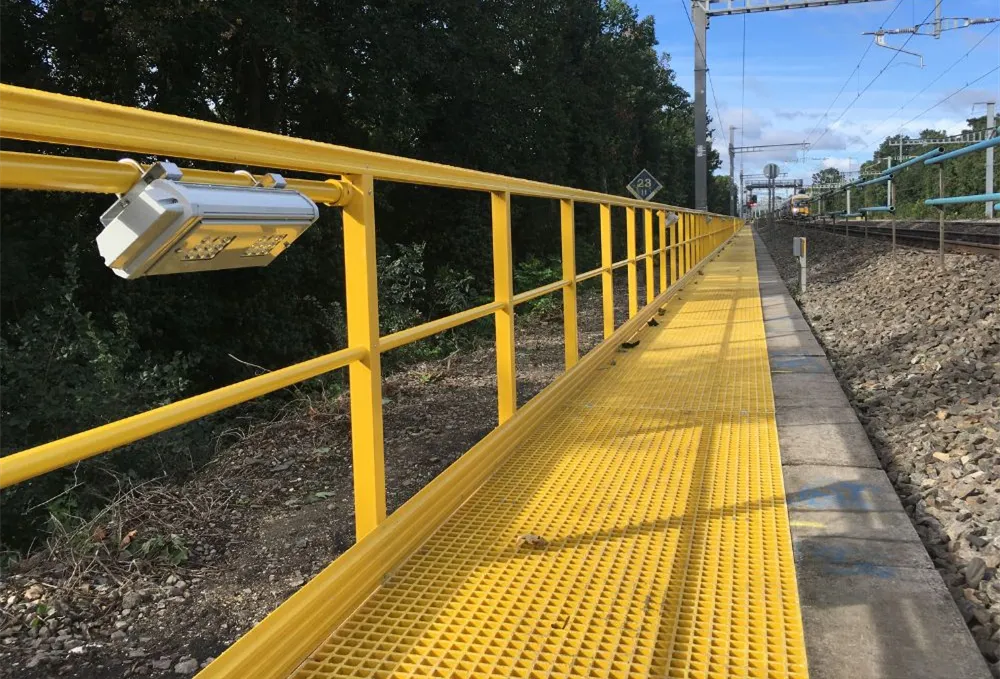
frp grating installation

1. Positioning the Supports Start by placing the supporting framework or beams for the FRP grating. Ensure the supports are level and adequately spaced based on the manufacturer's recommendations, typically ranging from 24 to 36 inches apart, depending on the load requirements.
2. Placing the Grating Panels Lay the FRP grating panels onto the supports or beams. Align them carefully to ensure they fit snugly without gaps. This alignment will help maintain the integrity and load-bearing capability of the installation.
3. Securing the Grating Use the appropriate fasteners to secure the grating panels in place. Depending on the design, clips or screws can be used. If using screws, ensure they are evenly distributed across the panel to provide consistent support. For maximum effectiveness, always use non-corrosive materials to prevent rust and degradation over time.
4. Sealing and Finishing Touches After securing the grating, inspect the joints and connections. Consider applying a sealant if the gratings will be exposed to harsh chemicals or environmental conditions. This additional step helps prolong the lifespan of the installation.
5. Safety Checks Once the installation is complete, conduct a final safety check. Ensure that all panels are securely fastened, and inspect for any sharp edges or protruding fasteners. A thorough safety inspection can prevent potential injuries and liabilities.
Maintenance Tips
While one of the main advantages of FRP grating is its low maintenance requirements, periodic inspections are advisable. Look for signs of wear, especially in high-traffic areas, and address any issues promptly. Cleaning the grating with mild soap and water will help maintain its appearance and functionality.
Conclusion
The installation of FRP grating can provide numerous benefits in various applications. By following the above steps, ensuring proper preparation, and adhering to safety guidelines, you can achieve a successful installation that will serve a long and durable purpose. Whether it’s for industrial use or recreational settings, FRP grating is an ideal solution that combines performance, safety, and longevity.
-
GRP Structures: The Future of Lightweight, High-Performance EngineeringNewsJun.20,2025
-
FRP Water Tank: High-Performance Storage for Corrosive and Clean Water SystemsNewsJun.20,2025
-
FRP Square Tube: The New Industry Standard for Chemical and Structural ApplicationsNewsJun.20,2025
-
FRP Pultruded Profiles: The Ultimate Choice for Lightweight Structural StrengthNewsJun.20,2025
-
FRP Handrails: The Safer, Smarter, and Stronger Choice for Modern InfrastructureNewsJun.20,2025
-
FRP Grating: The Smart Solution for Durable, Lightweight Industrial FlooringNewsJun.20,2025
-
Why Choose a Galvanized Water Tank for Your Storage NeedsNewsMay.21,2025
